Page 3 of 3
Posted: 29 Apr 2015, 16:09
by Sigmoid
It was a grounding issue. The bottom plate is connected to the ground path with a large bolt, and that wasn't making contact. Removing the top plate moved the pcb a little, fixing the ground. By tightening the bolt and reflowing the solder on the tab around it fixed the issue, the keyboard is working great.
Posted: 08 May 2015, 07:04
by Sigmoid
Finally done.

It's a great keyboard.
Here are some more photos...
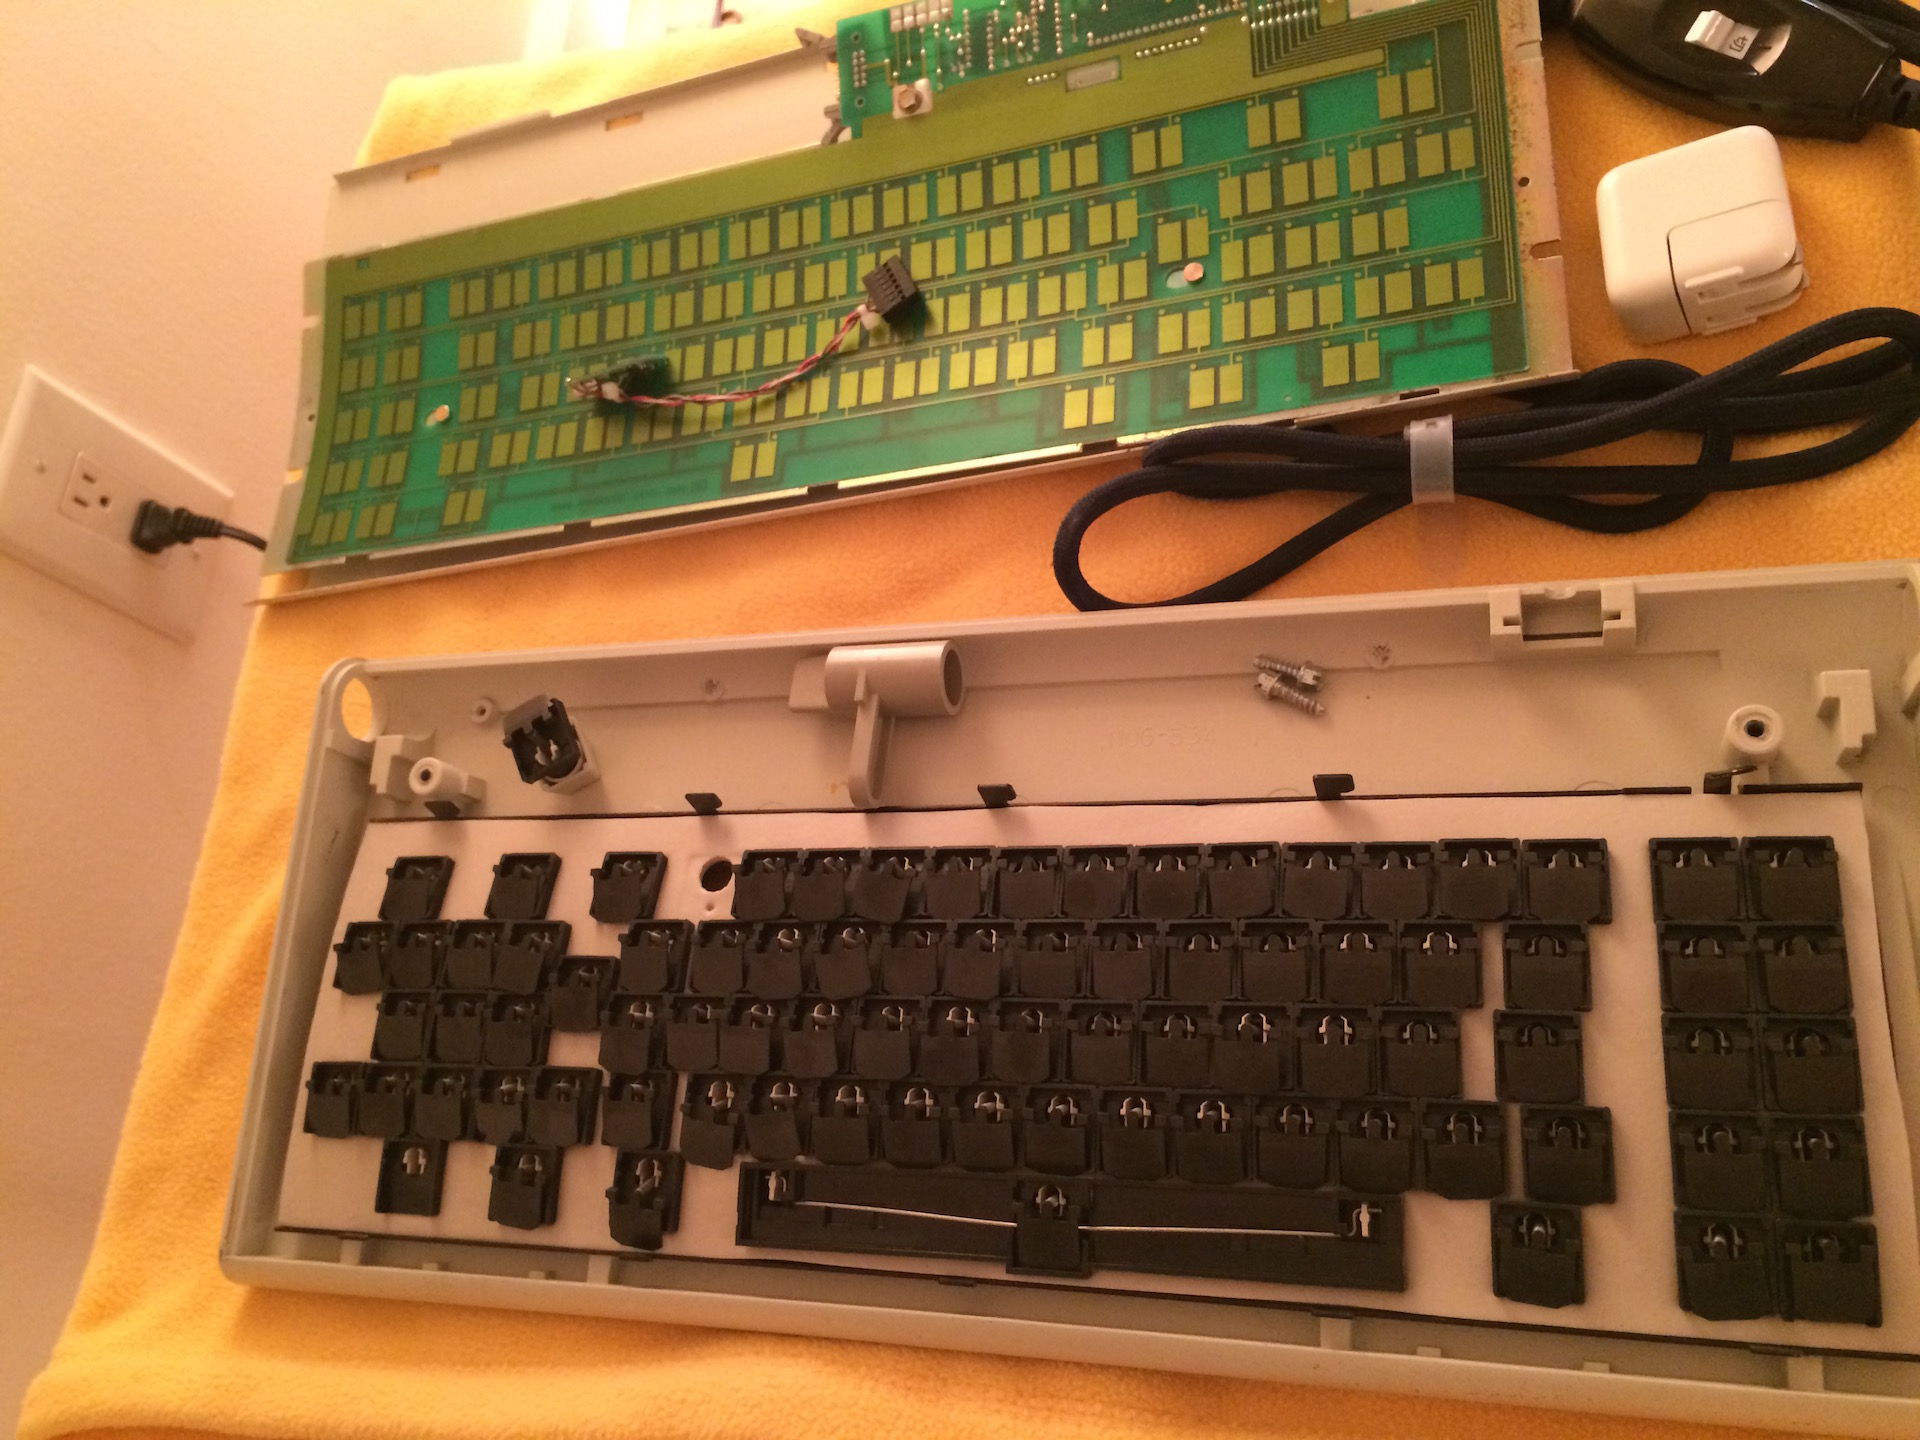
- Opened up for debugging
- keyboard-10.jpeg (562.11 KiB) Viewed 2150 times
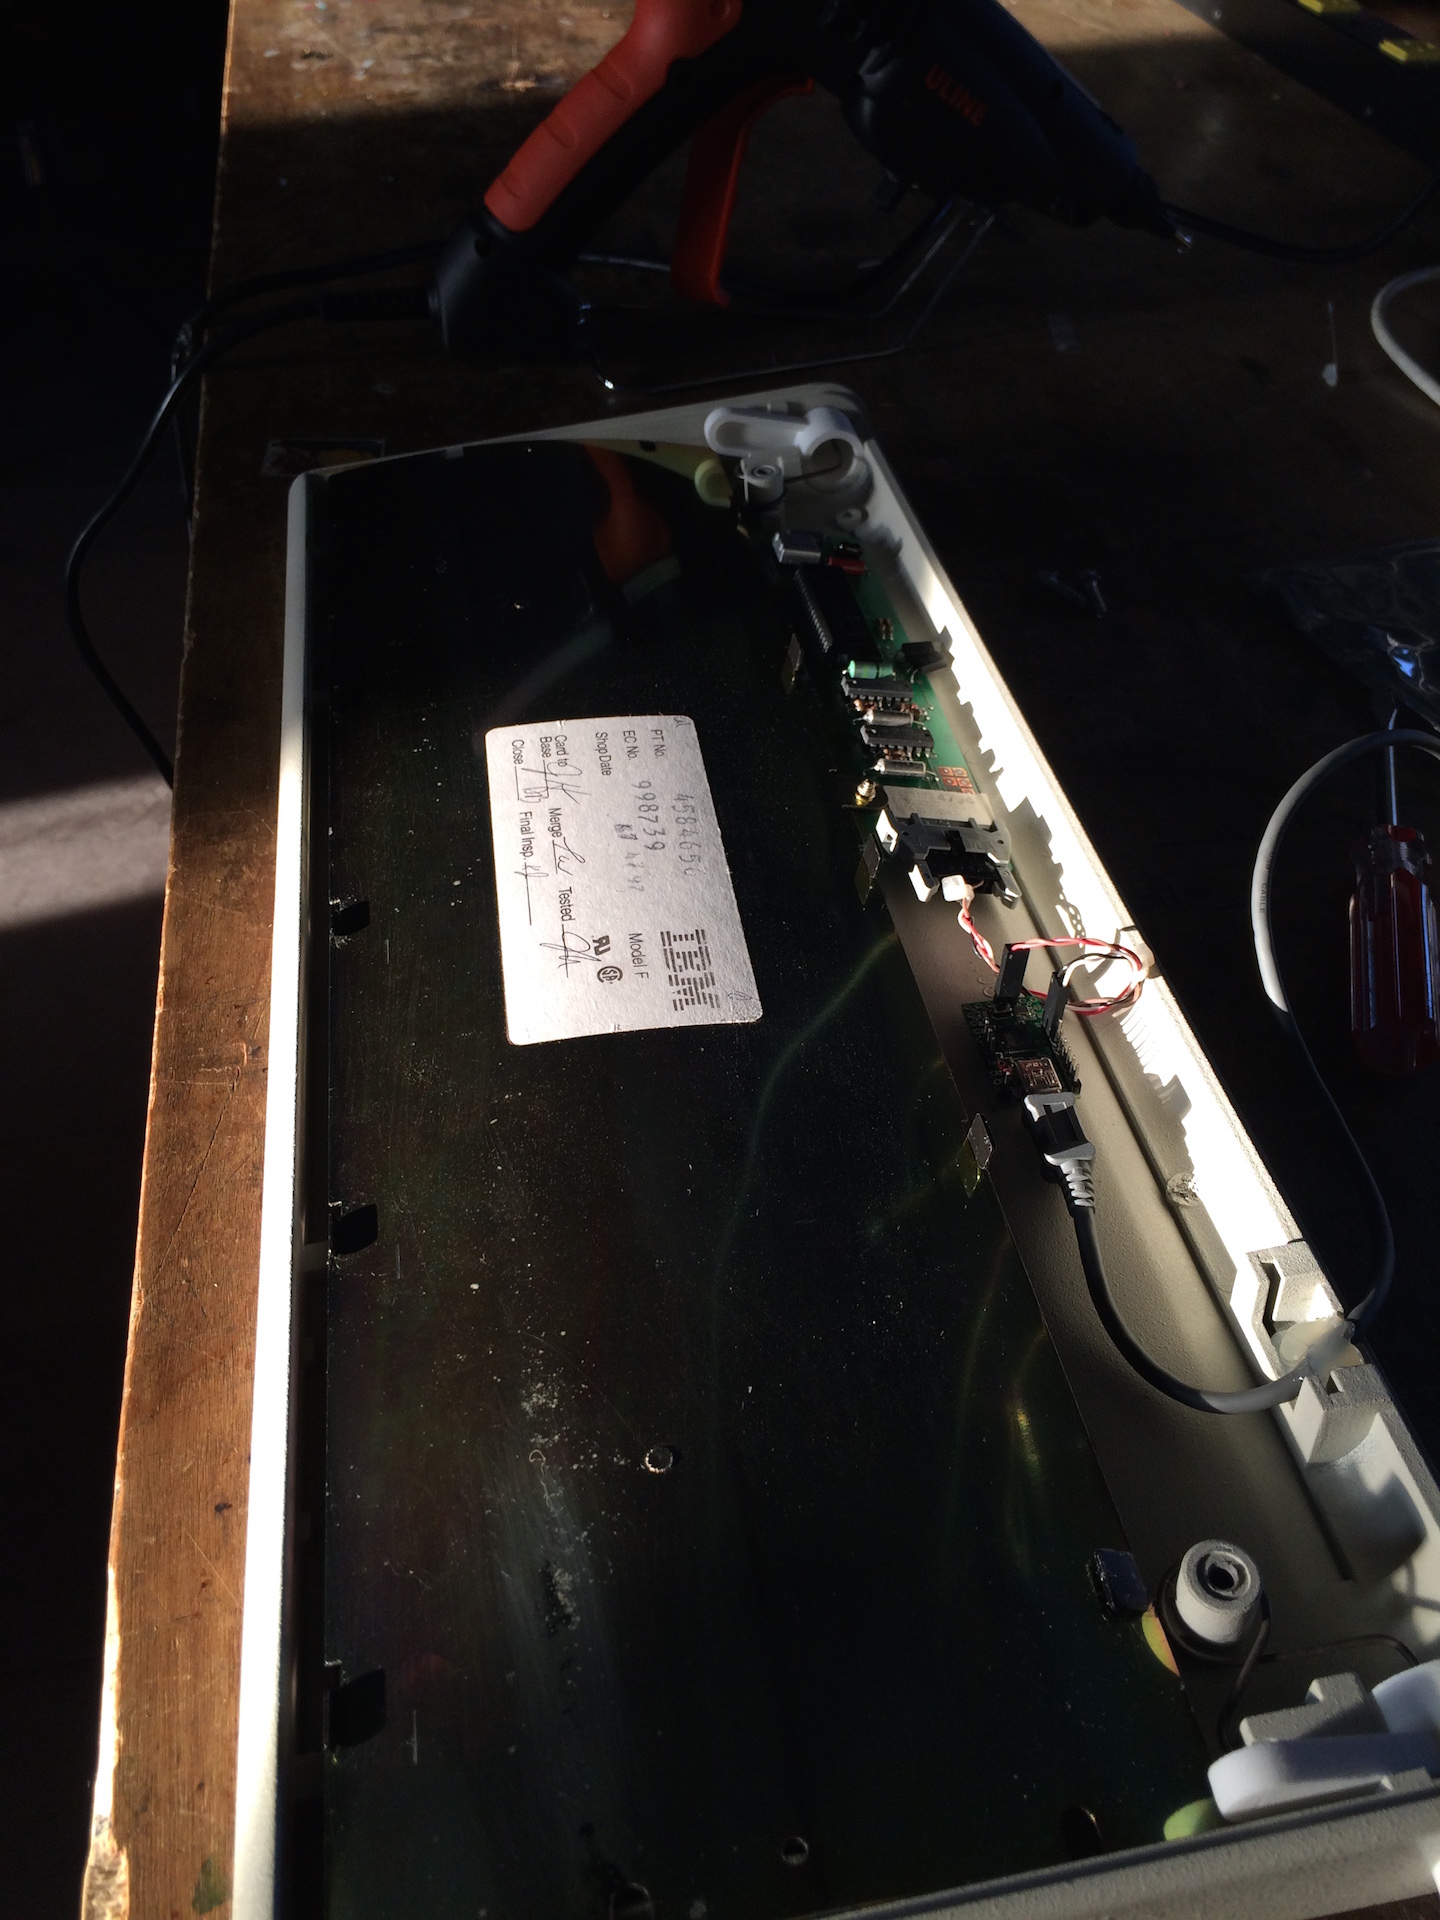
- Hot glue and sunshine - and yea I've reworked the teensy and the cable connector
- keyboard-11.jpeg (688.92 KiB) Viewed 2150 times

- Documentation :)
- keyboard-12.jpeg (546.85 KiB) Viewed 2150 times
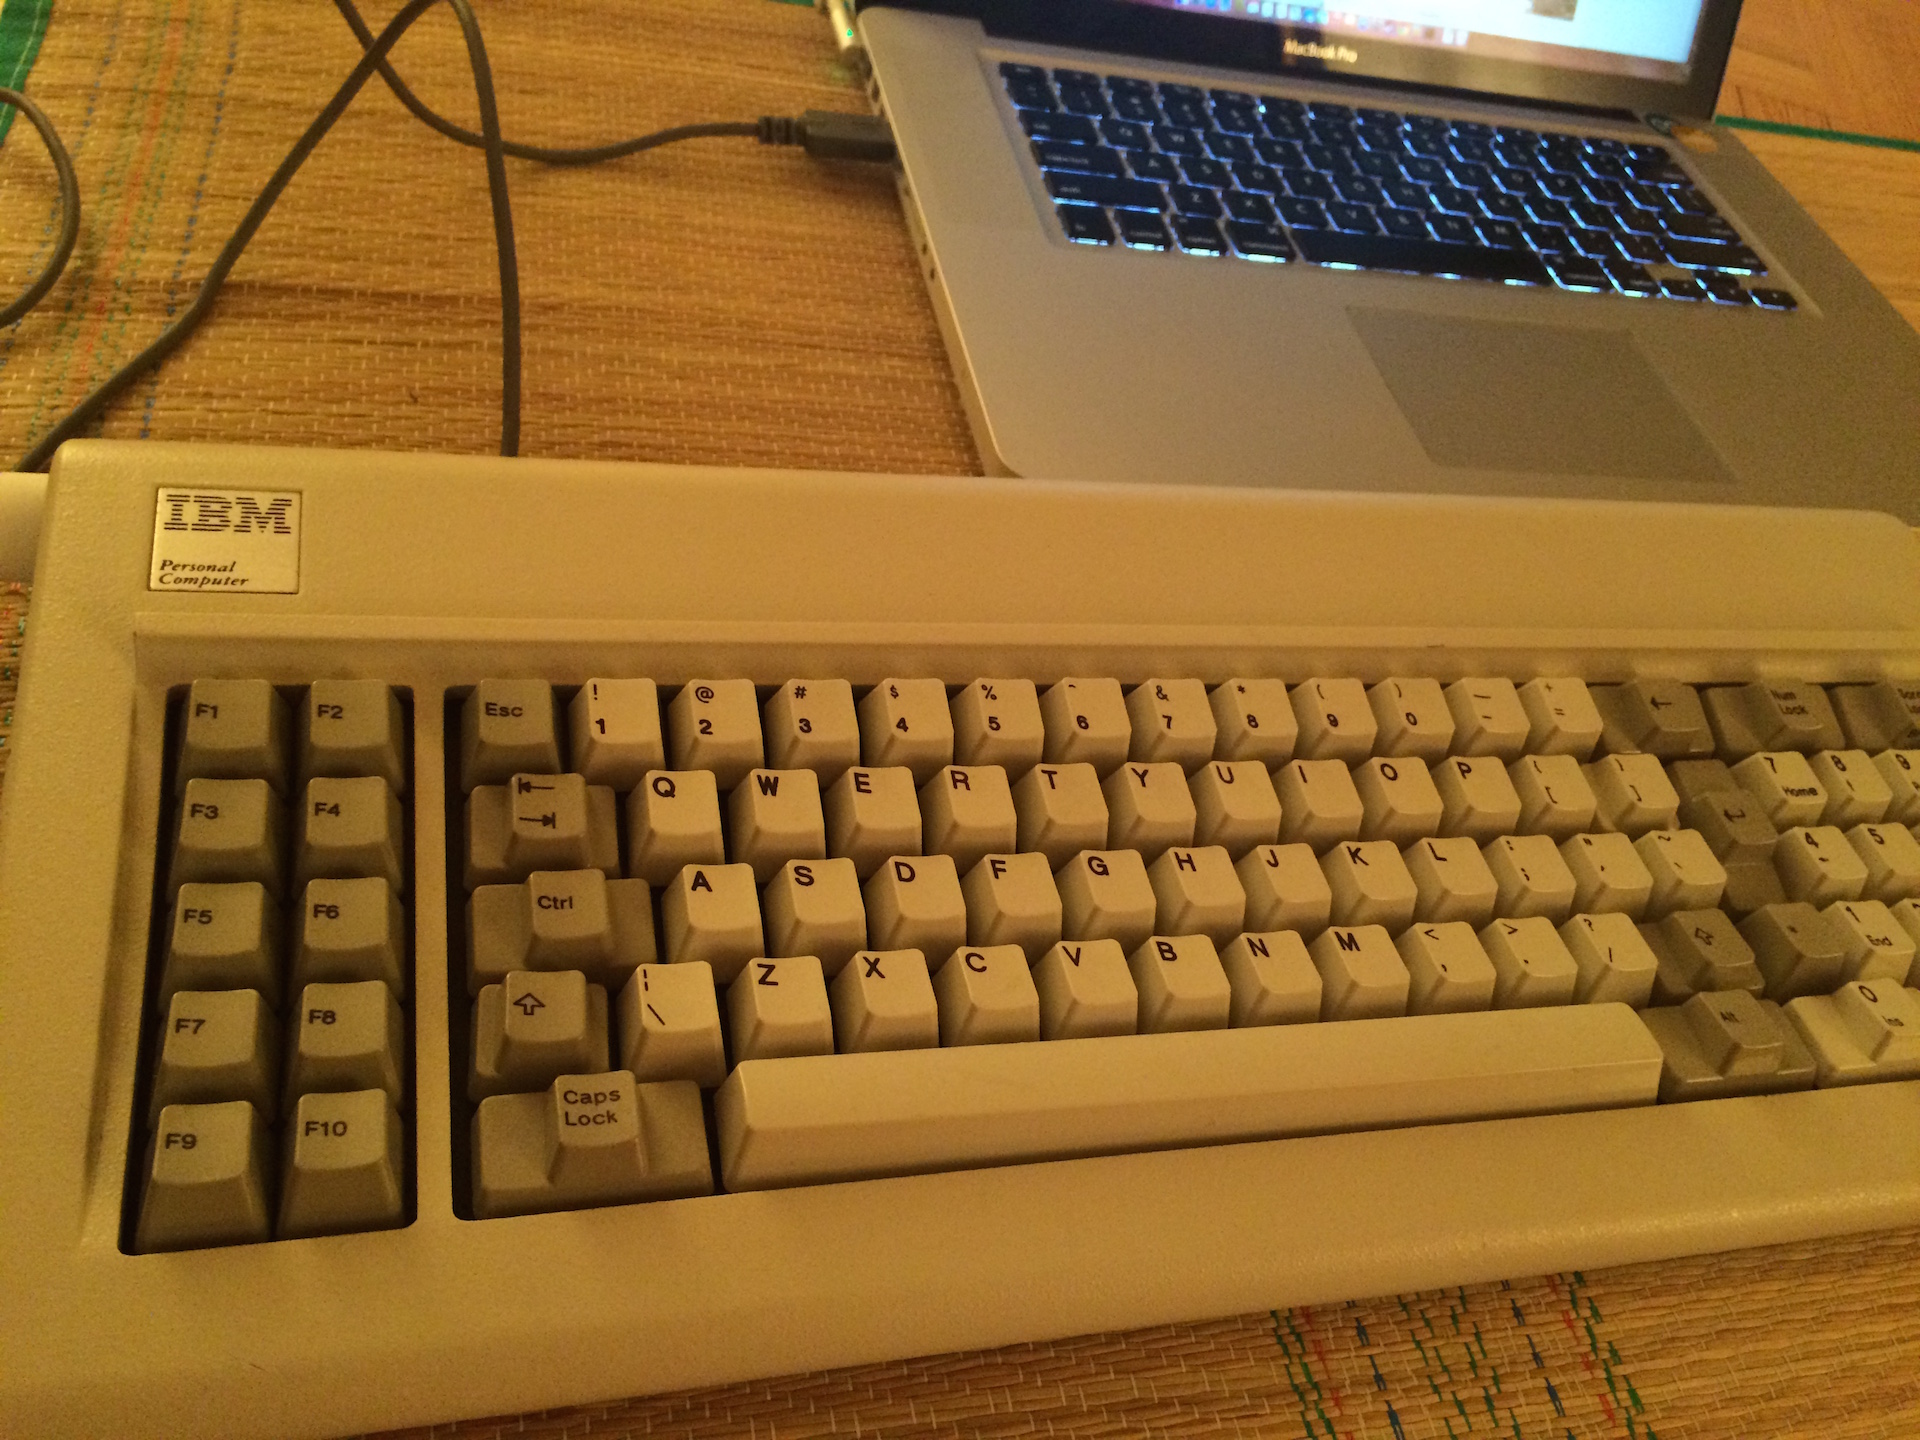
- All done
- keyboard-13.jpeg (894.97 KiB) Viewed 2150 times
And here's my Soarer config for posterity:
Code: Select all
ifkeyboard 0000

ifselect any

remapblock
	CAPS_LOCK					RALT
	LALT						CAPS_LOCK
endblock

macroblock
	# Clear modes
	macro SCROLL_LOCK SHIFT CTRL
		PRESS SELECT_0
	endmacro
	# Switch to hardware Num Lock mode
	macro NUM_LOCK SHIFT CTRL
		PRESS SELECT_1
	endmacro
	# LAlt on Caps Lock
	macro CAPS_LOCK SHIFT ALT
		PRESS SELECT_3
	endmacro
	# LCmd on Caps Lock
	macro CAPS_LOCK SHIFT CTRL
		PRESS SELECT_4
	endmacro
endblock

# Hardware Num lock
ifselect 1

remapblock
	NUM_LOCK	SELECT_2
endblock

ifselect 2

remapblock
	PAD_1		END
	PAD_2		DOWN
	PAD_3		PAGE_DOWN
	PAD_4		LEFT
	PAD_5		PAD_ENTER
	PAD_6		RIGHT
	PAD_7		HOME
	PAD_8		UP
	PAD_9		PAGE_UP
	PAD_0		INSERT
	PAD_PERIOD	DELETE
endblock

# Caps lock remapping
ifselect 3

remapblock
	LALT	LALT
endblock

ifselect 4

remapblock
	LALT	LGUI
endblock
Posted: 08 May 2015, 08:37
by idollar
Nice ...
Now you only have to install a GNU OS in the Apple box behind the keyboard to have a perfect setup

Posted: 08 May 2015, 13:46
by Redmaus
Man I really have to start using pins for a teensy...
Posted: 08 May 2015, 14:10
by vivalarevolución
Redmaus wrote: Man I really have to start using pins for a teensy...
Pins can me bulky. I actually found it difficult to use a Teensy with pins inside an XT, but maybe I was doing it wrong.
Posted: 08 May 2015, 14:34
by Khers
I did my Bigfoot with pins and it was very convenient to do so for testing. I do plan to change the Teensy to one where I solder in the wires instead - I just haven't gotten around to it yet... In the Bigfoot, perhaps unsurprisingly, there were no space issues with the pins whatsoever! :p
Posted: 08 May 2015, 15:02
by fohat
If you have the space for pins, they make it a lot easier. I did my early work on a small breadboard and it was very convenient.
But pins double the thickness of the unit, and the way connections are made makes it even more bulky.
Posted: 08 May 2015, 16:11
by Sigmoid
prdlm2009 wrote:
Pins can me bulky. I actually found it difficult to use a Teensy with pins inside an XT, but maybe I was doing it wrong.
In that area you see it installed, there is actually ample clearance for it.

BTW if you start using pins, I heavily recommend getting a crimper for the connectors. It's really indispensable. Think 5 minutes of fun vs. 30 minutes of frustration.
