Typically, the plastic barrel inserts should be removed when the model M keyboard is exceptionally dirty (from sticky soda residue or fine dust environments). We have had to do a few re-work and recovery jobs of previously botched model M repairs where the previous owner scratched or deformed the plastic inserts or plastic barrels by using metal tools. Damage to the geometry of the plastic stabilizers or interior dirt typically causes the wide or tall keys to stick when actuated.
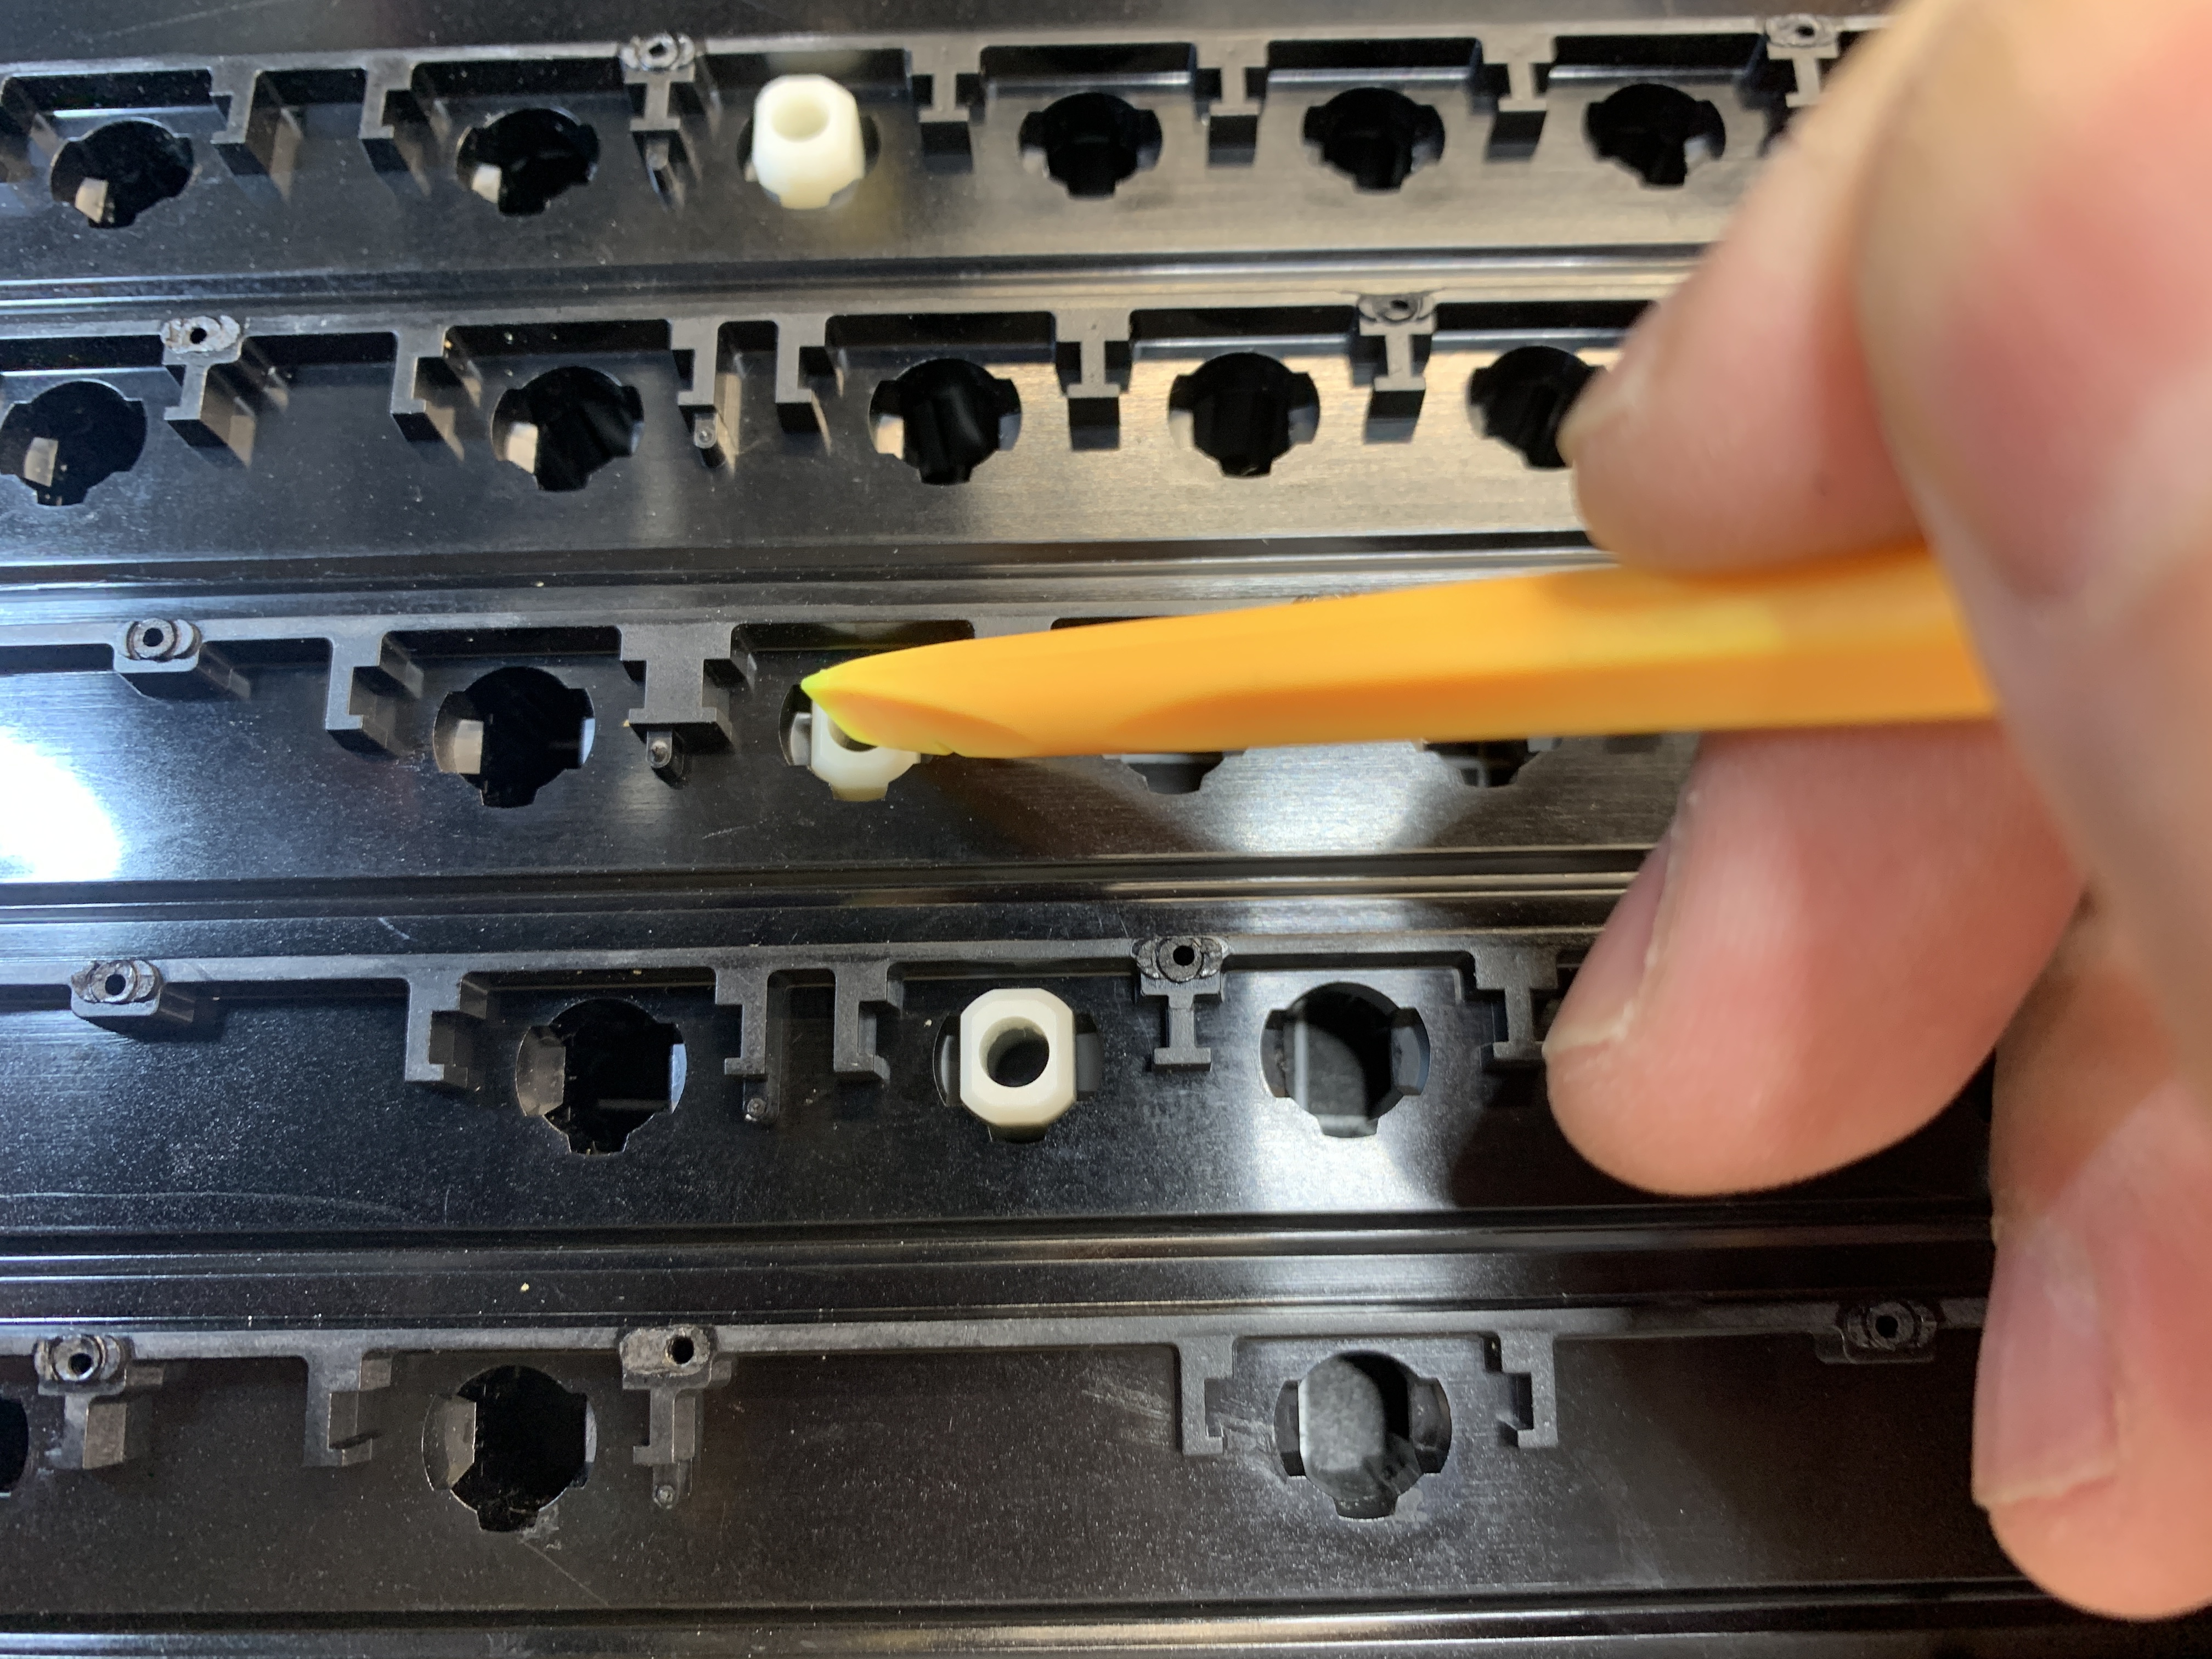
I find the best way to remove the plastic stabilizer inserts is to pop them out from the inside and pushing them out in preparation when drilling and doing a screw-mod. Take care not to get dust or debris or liquids on the inside service of the plastic inserts. To replace them is as simple as push-fitting them back into position.
- IMG_8187.jpg (3.28 MiB) Viewed 2155 times
- IMG_8188.JPG (3.04 MiB) Viewed 2155 times
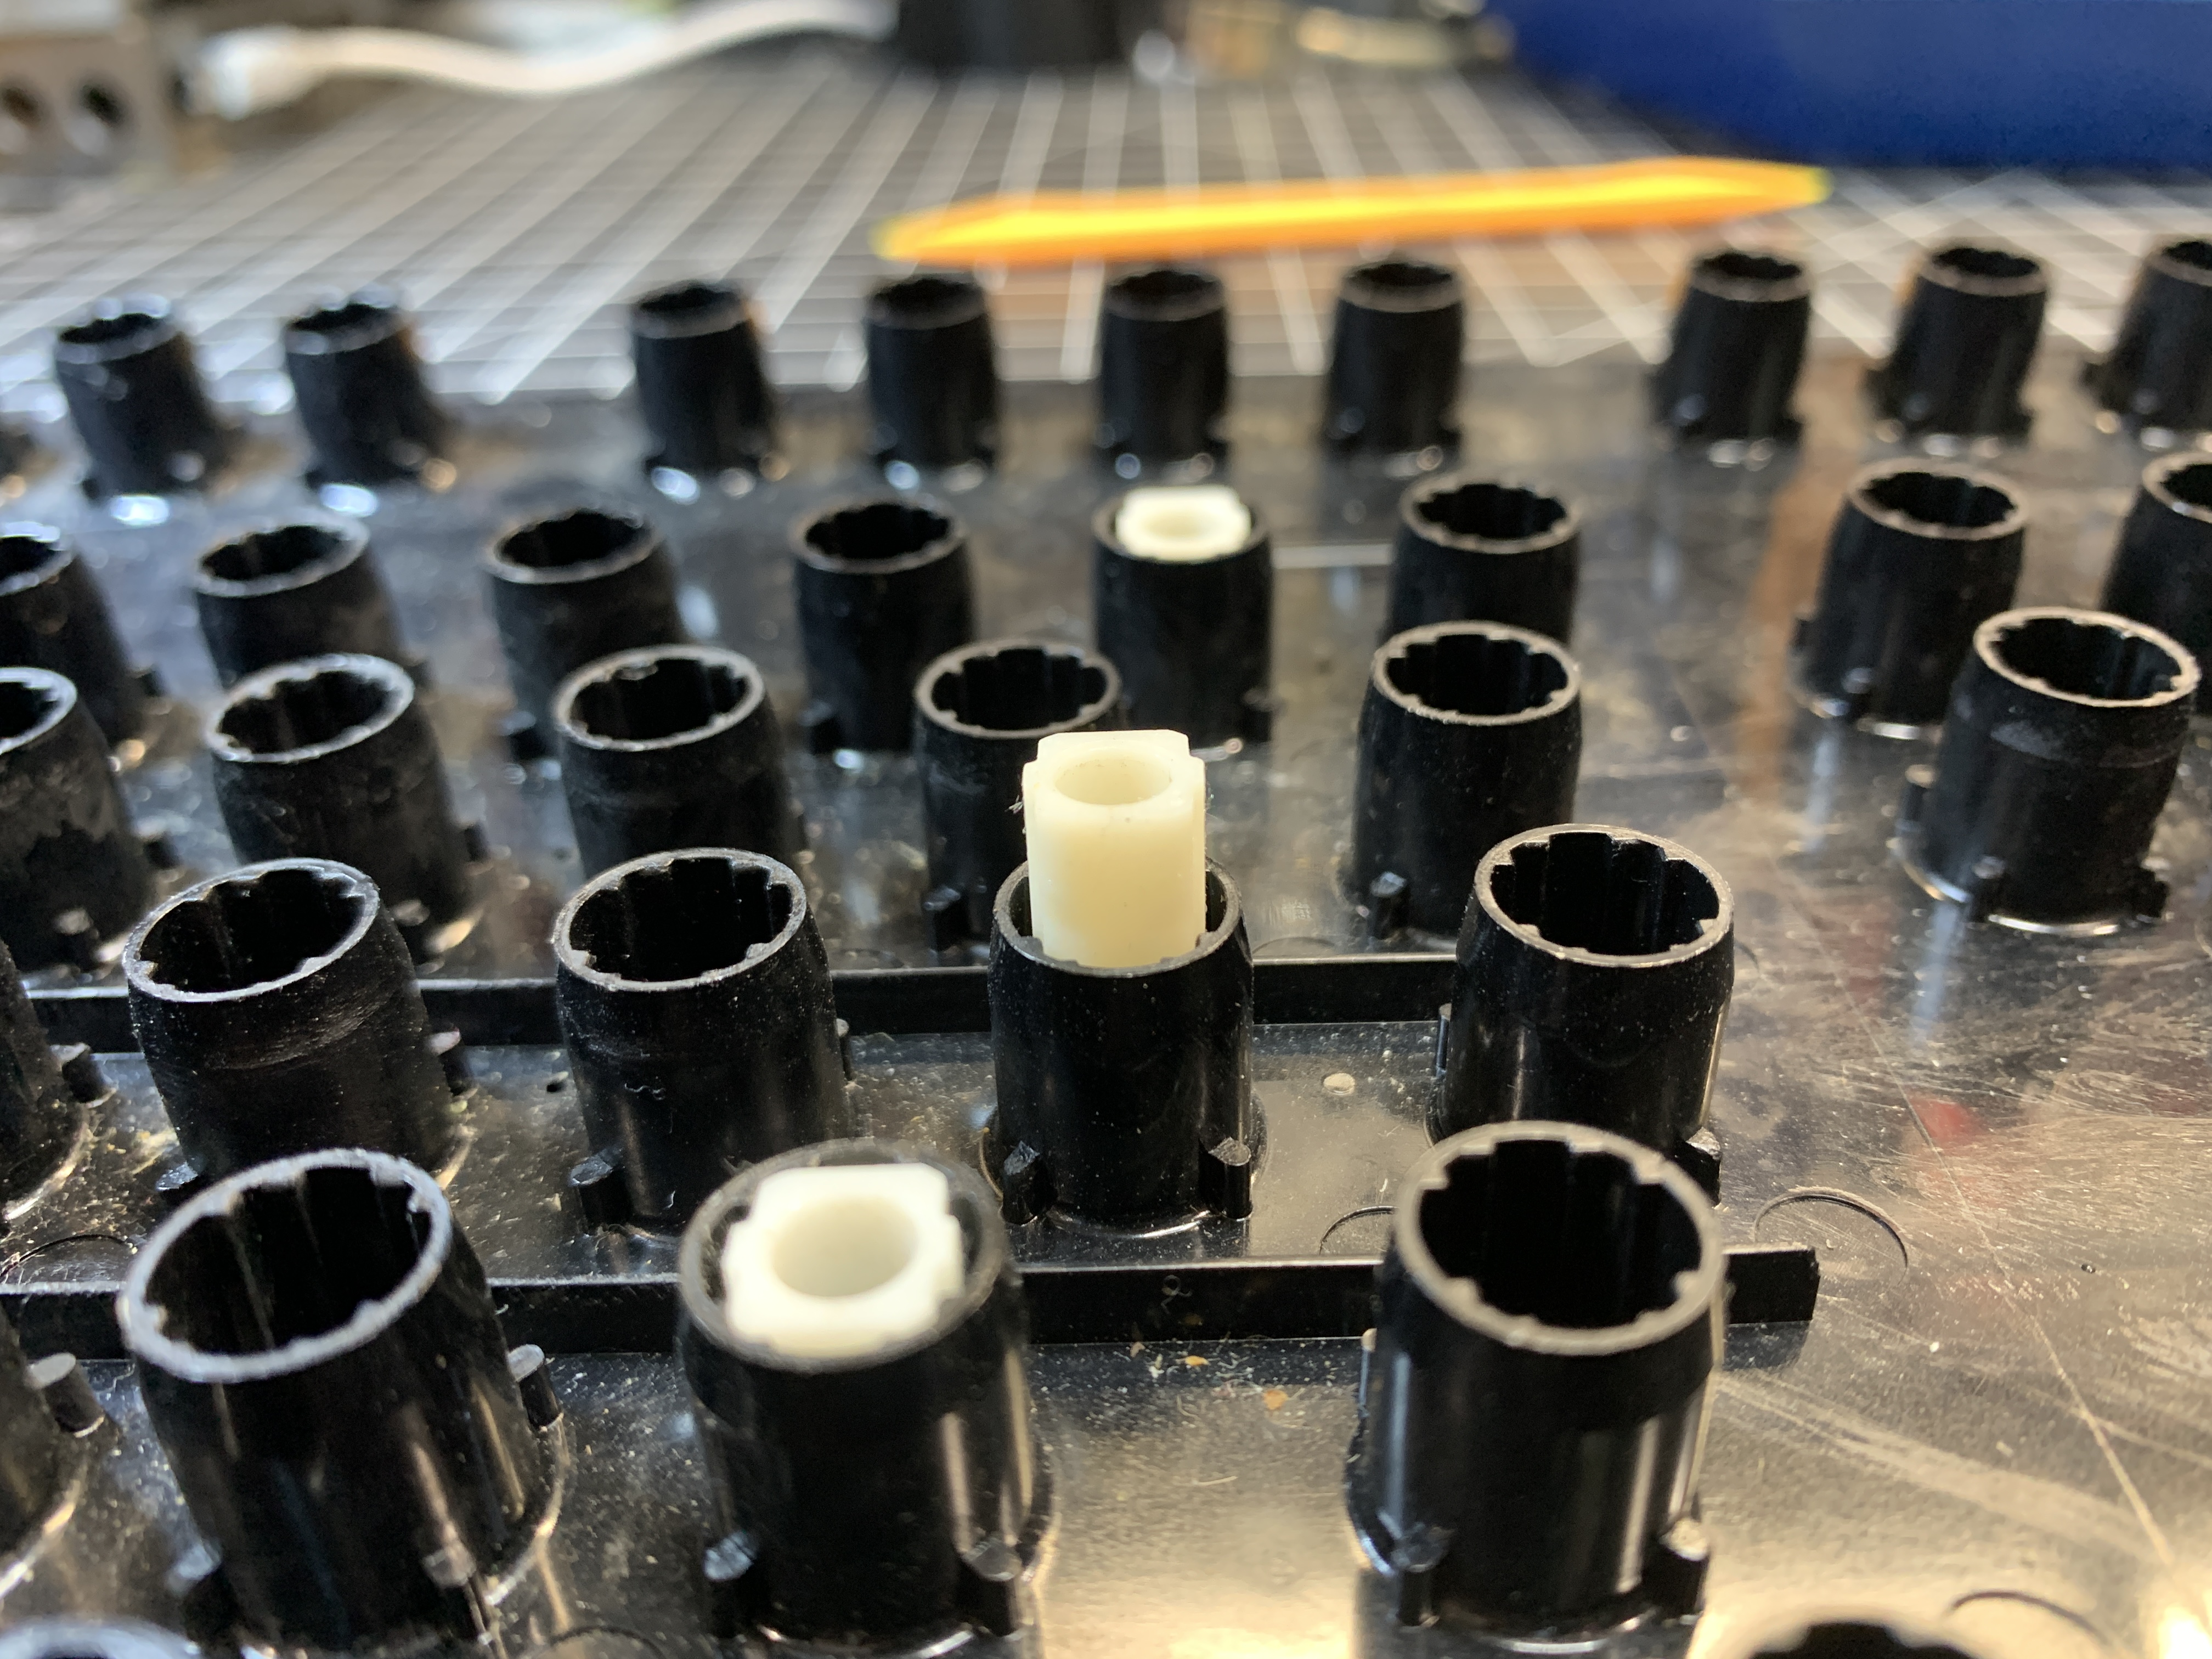
Also.. the 5 wide keys (2 shift keys, enter key, backspace key and numpad 0 key) use "white" plastic stabilizer inserts
The 2 tall keys (numpad + and numpad enter keys) use a different type of plastic insert. Usually, a different color than white, such as blue, gray, or black plastic

- IMG_8190.JPG (3.98 MiB) Viewed 2155 times

