Z-150 Build Log
Posted: 25 Jul 2018, 03:21
First off this is my first thread in DT so hoping it goes well. 
Got my hands on a Zenith Z-150 AT a month back. Been eye-ing on one for quite a while since I always like how it stands out specially with that badge. Was aiming for a black badge but always misses on one or if I don't its on the high end of my budget. Brett MacK then had a Zenith sale which I jumped into one. Thanks Brett. I know then it would be a project but hoping I can use it as is. Shipping was always expensive, used a forwarder where it saved me like $2-3 with added 2 weeks delay.
This is the finish build.
Anyway, here's the build log.
The switches are indeed nice (first alps), the case though needs work. The sticker on the top right scares me since that might show the original color of the case.
This is why I hate stickers; residues.
After going with cycles through ultrasonic cleaner, hard scrubbing with cloth and some with wiping it with a product similar to goo off it ended up like this.
But decided to push through with the project route after cleaning. The AT version works with a DIN to ps/2 then a cheapo ps/2 to USB converter though the F7 wont work and somehow pressing any key with the leds just make the keyboard stop functioning.
The spacebar needs work since its ABS while the rest are PBT. Went with sanding it with 1500-2000 grit since I don't know how retro would react for uneven yellowing.
Removed the badge by making several passes with a heat gun at back of the case then giving it a nudge. Once a corner can be lifted slid a hard plastic between and slowly slice it through.
There are several nick on the case, filled them with epoxy and some I just had to even them out.
The bottom rear of the case is now even and also altered the hole for the cable. I used epoxy again.
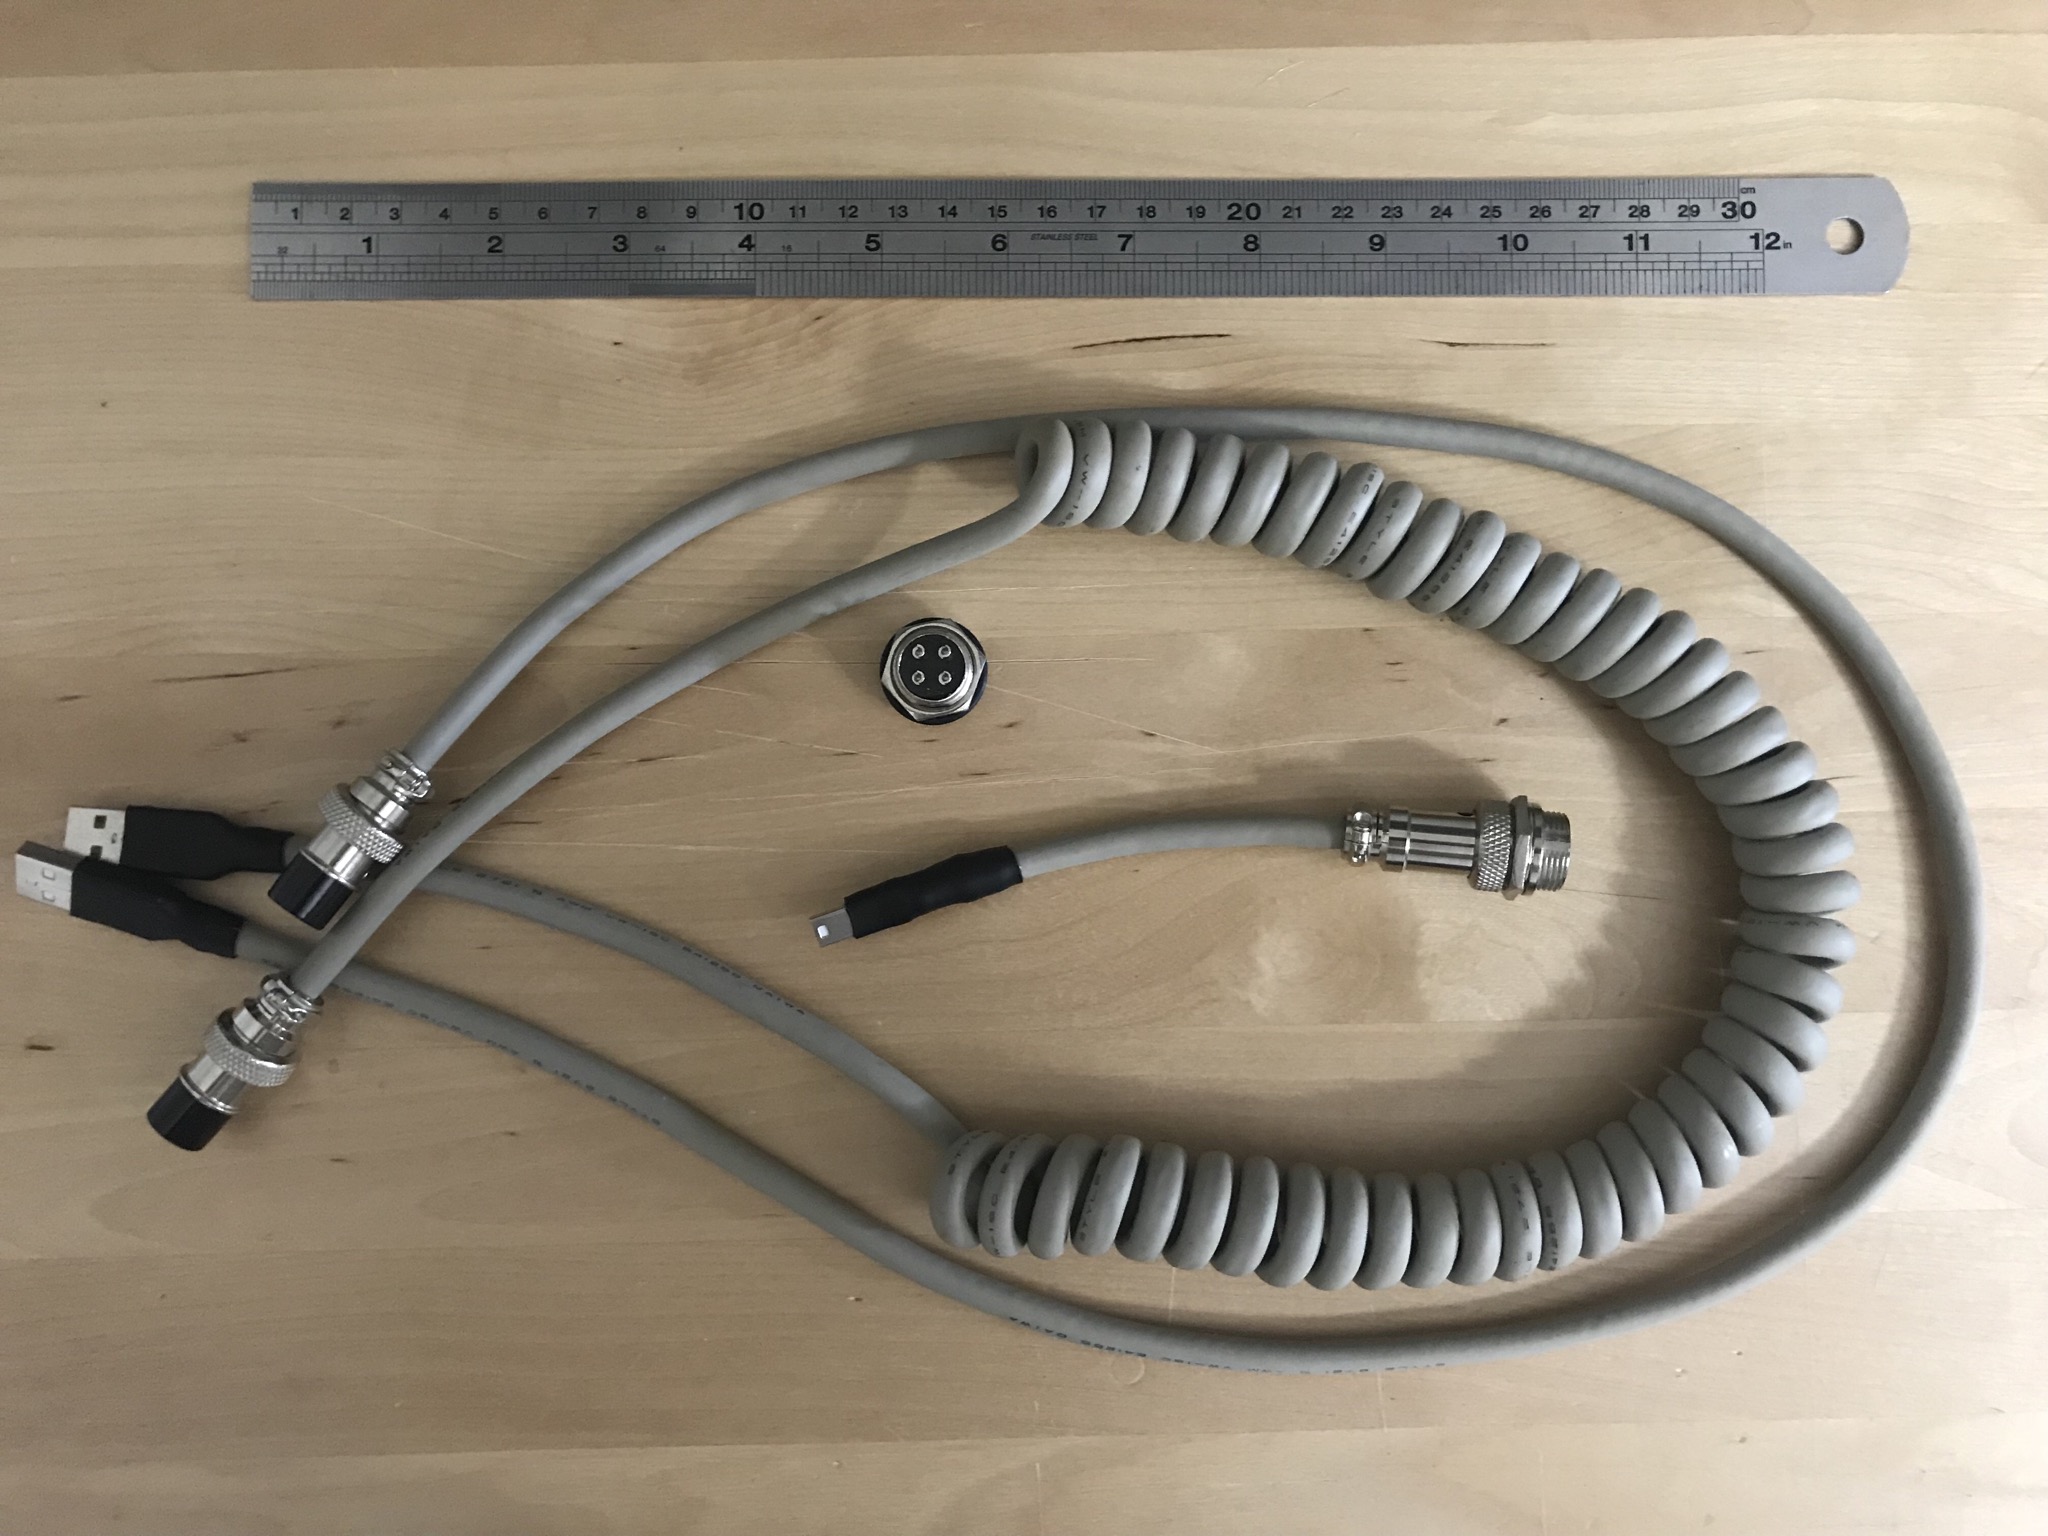
Going with aviator connector.
With how long the cable is, I got 2 cable that can connect to the board and another where I can use those 2 as a mini.
The case would be painted and as well as the plate since the paint already chipped off (sanded it a bit). I'm staying in an apartment with two small kids so doing this on my own is out of the picture. My wife's gonna kill me. Going with Cerakote.
Traced the PCB and its a 8x11 (row x col) or 11x8 matrix. I think I got it wrong. But had to stick with 8x11 since when I realized it I was already mapping the matrix. Initial plan was to be part of BladeAssasins GB as that's much cleaner but went with the cheaper route since shipping (pcb and teensy ++ 2.0) is another cost.
Tried to find a Teensy 2 locally but didn't find one, thus had to go with a clone. Found where to connect the "Teensy" but made a mistake of removing the bridges and resistors rather than just plainly cutting them. The back of the pcb is a complete mess since ALL the pads complete got removed. Epoxy to the rescue on the back and front. Used KLE and KBFirmware; wished I knew this when I did a full handwired TKL.
Soldered everything back and hooked up the "Teensy" which by the way worked fine. Then "Teensy" to the female connector. You can see the massacre on the PCB here. If it fails one day, I'll just fully handwire it.
Placed some mat on the bottom of the case and had to file/sand the 4 corners since they been scratching the inner paint of the top case.
Assembled back and here's how it looks on my desk. A bit darker here so the color is diff.
Got my hands on a Zenith Z-150 AT a month back. Been eye-ing on one for quite a while since I always like how it stands out specially with that badge. Was aiming for a black badge but always misses on one or if I don't its on the high end of my budget. Brett MacK then had a Zenith sale which I jumped into one. Thanks Brett. I know then it would be a project but hoping I can use it as is. Shipping was always expensive, used a forwarder where it saved me like $2-3 with added 2 weeks delay.
This is the finish build.
Spoiler:
The switches are indeed nice (first alps), the case though needs work. The sticker on the top right scares me since that might show the original color of the case.
Spoiler:
Spoiler:
Spoiler:
The spacebar needs work since its ABS while the rest are PBT. Went with sanding it with 1500-2000 grit since I don't know how retro would react for uneven yellowing.
Removed the badge by making several passes with a heat gun at back of the case then giving it a nudge. Once a corner can be lifted slid a hard plastic between and slowly slice it through.
Spoiler:
Spoiler:
Spoiler:
Spoiler:
Spoiler:
Spoiler:
Tried to find a Teensy 2 locally but didn't find one, thus had to go with a clone. Found where to connect the "Teensy" but made a mistake of removing the bridges and resistors rather than just plainly cutting them. The back of the pcb is a complete mess since ALL the pads complete got removed. Epoxy to the rescue on the back and front. Used KLE and KBFirmware; wished I knew this when I did a full handwired TKL.
Spoiler:
Spoiler:
Assembled back and here's how it looks on my desk. A bit darker here so the color is diff.
Spoiler: