Page 1 of 1
DIY numpad, sized to match 60%
Posted: 18 Apr 2017, 22:18
by Orpheo
EDIT : I did the 60% keyboard too after I finished the numpad because I like it and had still spare rosewood from the little slab I bought :


Original post :
So I couldn't for the life of me find a 60% sized numpad sized to fit OG cherry numpad keycaps, so I made one !
The PCB come from aliexpress and is normally destined to accompany the NPKC switch tester. It's cheap, and already programmed, that is very easy for the lazy dude, but the drawback is its lack of stabilizer when used like me as a PCB mount.
I used rosewood slab for neck fretboard instrument making, it's grain is beautiful and I may laquer it of some sort or leave it natural.
I cut grooves in the slabs to hold the PCB and glued the slabs together. After dried together strong, I filled the showing grooves with superglue and rosewood dust before sanding.
After hours of sanding it looks like this :


It comes from this :

Posted: 19 Apr 2017, 06:25
by //gainsborough
Nice work, dude! This looks lovely.
Posted: 19 Apr 2017, 09:31
by Shihatsu
I don't like either wood cases nor 60s, but dude! This looks stunning beautiful! Good job indeed!
Posted: 19 Apr 2017, 09:47
by Nuum
On some pictures it almost looks like a render, wow!
Posted: 19 Apr 2017, 09:51
by Menuhin
Beautiful!!!
Please leave it natural and just apply some wood oil if needed, it looks real good this way.
Can you share how you machines the wood slabs?
I have that PCB sitting in my drawer. Almost abandoned it. Is that programmable? And probably you can drill holes to add Cherry stabs?
That Enter-Send-Go key looks sick! Never realized such a gorgeous key exists in the OG Cherry set.
Posted: 19 Apr 2017, 16:46
by Stabilized
Menuhin wrote: Can you share how you machines the wood slabs?
I have that PCB sitting in my drawer. Almost abandoned it. Is that programmable? And probably you can drill holes to add Cherry stabs?
I would like to know how you did the stabs too!
From what I understand, the PCB is not programmable and make sure that you have diodes as some people have said that their v1 PCBs were 1KRO! Also, I don't think you can drill holes for the stabs as, if you look at the area they would be positioned, it would mostly likely cut a trace or even go right through the controller.
I mean you could always buy a Satan pad PCB for programmability but then you have to problem again with stabs

Posted: 19 Apr 2017, 16:55
by ideus
It is a shame it does not have stab holes; but, who cares? Looking that good, it does not matter a bit of wobbling.
Posted: 19 Apr 2017, 16:58
by Orpheo
I used a sheet of abrasive paper 120 grit than I spray with glue then pit it on an plywood large Planck. Then I use both hands to hold the body and sand like this on all sides.
Then used 250 grit. I should still finish it with finer grain

I like the touch of this so maybe I will not varnish. I think I got some wood oil somewhere! But a clear coat will reveal the beautiful rosewood for sure.
I like this result so much I am doing the keyboard case right now, it way easier because the pcb is flush so I don't have to cut grooves in the slabs.
For stabs, the only way I think is to epoxy them onto the pcb.
This is not programmable, but there are other option for those who want that. It's just not 17 keys but 21.
This is v3, seller told me they are nkrollover.
Posted: 19 Apr 2017, 17:25
by Stabilized
BTW, what instruments do you make?
Posted: 19 Apr 2017, 18:12
by Madhias
Nuum wrote: On some pictures it almost looks like a render, wow!
I thought exactly the same! Really well done.
Posted: 19 Apr 2017, 18:35
by Orpheo
Oh no I am not a luthier, I work in IT management and I am a musician (piano, guitar, uke, Stick Chapman etc.) I did restore my old Martin ukulele (from 1960) some years ago. I level the neck and fretted it and it was a real bitch! Just imagine 50 years old dried rosewood cracking and damaged when I pulled the metal frets. It was a nightmare. I did it myself because no luthier in my neighborhood were willing to accept the job! The neck was not straight anymore to the point a simple fret job was useless. So I had to remove all the frets, level sand the fretboard and put new frets again. That is when I learn the trick to use wood dust and superglue.
As you can see I am pretty handy, I lined the uke case myself ^^
I am real proud of my uke rescue ^^


Posted: 19 Apr 2017, 18:41
by Orpheo
I loving it so much that I am doing the 60% case right now !

Posted: 20 Apr 2017, 00:07
by Menuhin
Never studied anything related, and didn't know I would love to have these skills later on in my life:
Kind of related art of wood work: Wood joints
Posted: 20 Apr 2017, 17:00
by Orpheo
Very nice japanese wood joints!
Wish to learn some too ^^
Here is the keyboard getting almost ready

Posted: 20 Apr 2017, 20:37
by Menuhin
People can trash all their group buy wooden cases...
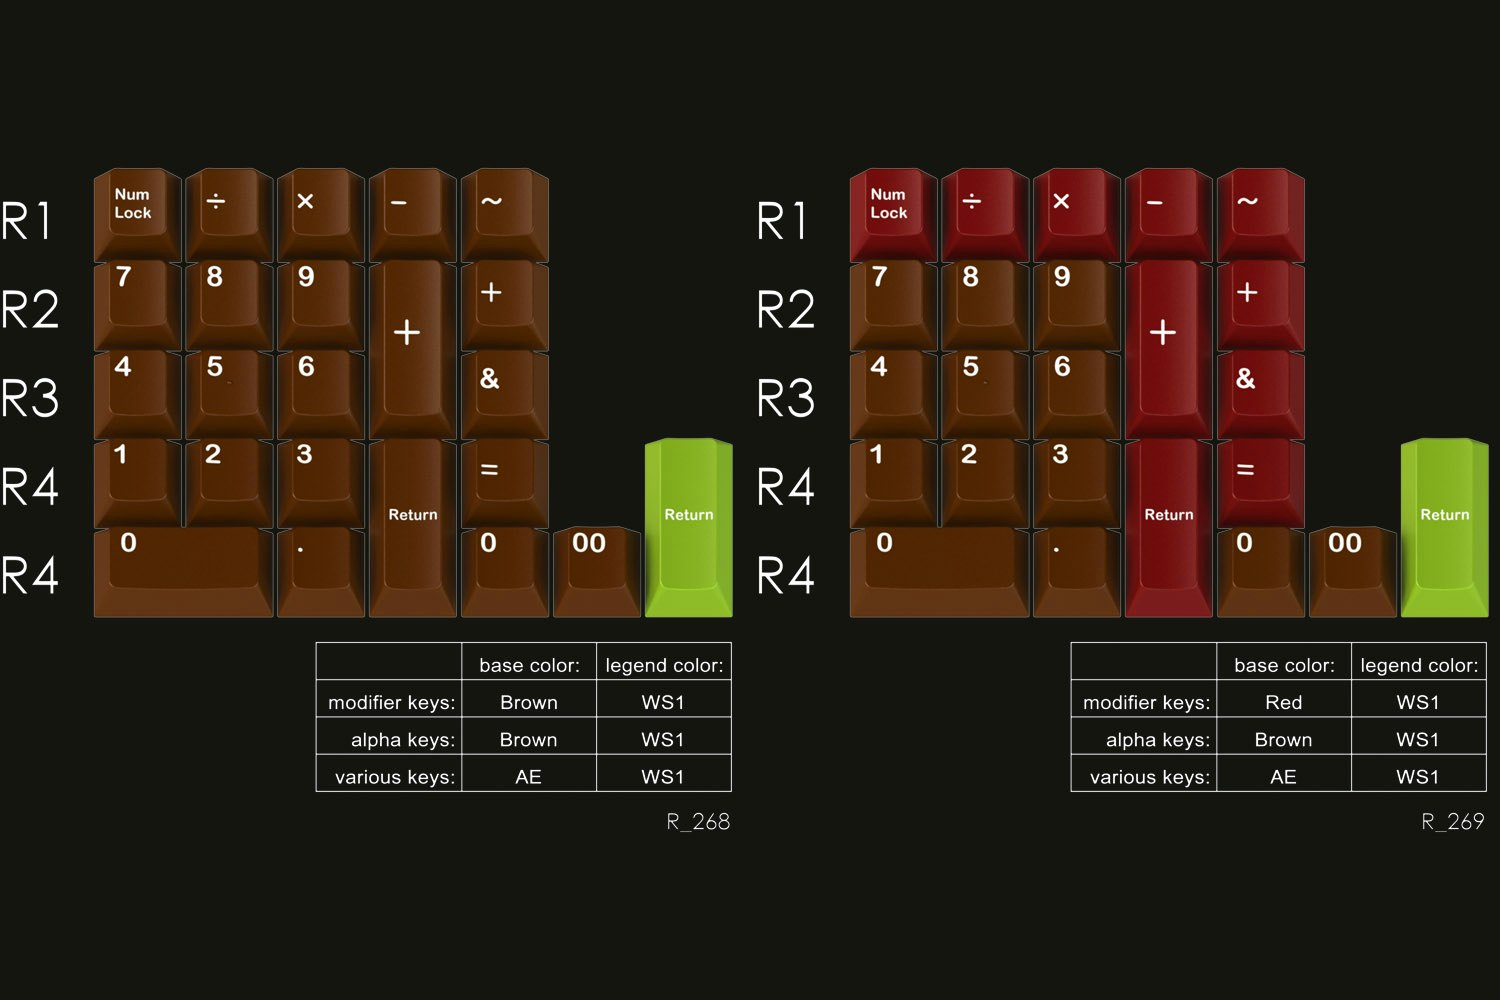
Your case may want this GMK set
Don't have other recommendation if you want to use those nice OG Cherry dye-sub / doubleshot.
Posted: 21 Apr 2017, 10:01
by Orpheo
Hehe that keyset looks pretty good!
Posted: 22 Apr 2017, 00:07
by ideus
The 60% looks really nice. What keyset is that?
Posted: 22 Apr 2017, 02:16
by photekq
ideus wrote: The 60% looks really nice. What keyset is that?
Dolch alphas, WEY modifiers.
Posted: 24 Apr 2017, 03:16
by ideus
photekq wrote: ideus wrote: The 60% looks really nice. What keyset is that?
Dolch alphas, WEY modifiers.
Thank you photekq, that explains why they look so unique.
Posted: 25 Apr 2017, 03:48
by gnmar2723
Excellent craftsmanship my friend, I wish I could make a wooden case that nice looking!